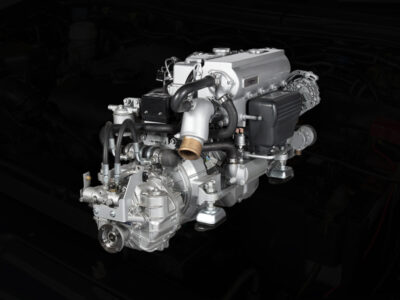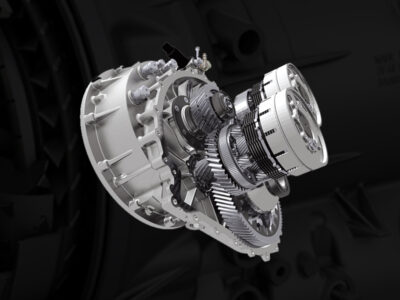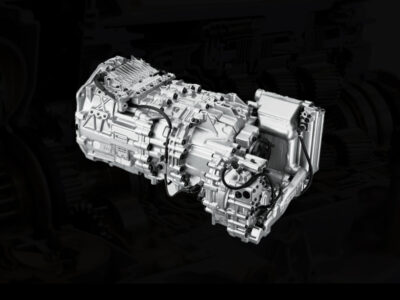
Installing a used transmission can save you money while extending the life of your vehicle. This step-by-step guide will help you install a pre-owned transmission safely and efficiently. Follow these detailed instructions, and you’ll have your car back on the road in no time.
Why Install a used Transmission?
A transmission replacement is one of the most expensive vehicle repairs. Opting for a pre-owned transmission can be a cost-effective solution without compromising reliability. Many pre-owned transmissions come from low-mileage vehicles and function well if properly installed.
Tools and Materials You’ll Need
These are the necessary tools and equipment:
- A pre-owned transmission
- Hydraulic jack and jack stands
- Socket set and wrenches
- Torque wrench
- Transmission fluid
- Screwdrivers and pliers
- Transmission jack (recommended)
- Safety goggles and gloves
Read next: Automatic vs. Manual Transmissions: Which is the Best Option for You?
Step-by-Step Guide to Installing a Transmission
1. Prepare the Vehicle
- Proper Surface Level: Before starting, ensure the vehicle is on a level surface and secured properly.
- Disconnect the Battery: Always disconnect the negative terminal to prevent electrical hazards.
- Elevate the Vehicle: Use a hydraulic jack to lift the car and secure it with jack stands.
- Drain Transmission Fluid: Remove the transmission fluid by loosening the drain plug.
2. Remove the Old Transmission
- Disconnect Linkages and Wires: Unplug electrical connectors, shift linkages, and speed sensors.
- Remove the Driveshaft: Unbolt the driveshaft and carefully slide it out.
- Support the Transmission: Use a transmission jack to support the weight before unbolting it from the engine.
- Detach the Torque Converter and Bellhousing Bolts: Unbolt these components to free the transmission.
- Lower and Remove the Old Transmission: Carefully lower the old unit and move it out of the way.
3. Installing the Transmission
- Position the Transmission: Place it on a transmission jack and align it with the engine.
- Reconnect the Torque Converter: Secure the torque converter to the flywheel.
- Bolt the Transmission to the Engine: Align and tighten the bellhousing bolts.
- Reattach the Driveshaft: Slide the driveshaft back into place and secure it.
- Reconnect Linkages and Wiring: Plug in all electrical connectors and secure shift linkages.
4. Final Adjustments and Testing
- Refill Transmission Fluid: Use the recommended transmission fluid for your vehicle.
- Check for Leaks: Look for any fluid leaks before starting the engine.
- Start the Engine and Test Drive: Run the engine and shift through gears to ensure smooth operation.
Tips for a Successful Installation
- Follow the service manual for instructions.
- Use high-quality transmission fluid to enhance performance.
- Double-check all bolts and connections before lowering the vehicle.
- If unsure, seek help from a professional mechanic.
Wrapping Up
Installing a transmission can be a rewarding DIY project that saves you money and extends your vehicle’s lifespan. With proper tools, careful planning, and patience, you can successfully replace your transmission and get back on the road.
Looking for high-quality used auto parts? A111 Auto Parts offers a wide selection of reliable transmissions and other essential components. With rigorous testing and a vast inventory, we ensure reliability and performance for your vehicle. Contact Us today for tested, reliable, rebuilt or manual transmissions—fast shipping available!


